Smooth OBS streaming comes down to four settings working together correctly: a bitrate matched to your upload speed (commonly 6,000 kbps for 1080p60 on Twitch), a 2-second keyframe interval, an encoder preset your CPU can sustain without dropping frames, and B-frames set appropriately for your encoder. Getting any one of these wrong is the most common cause of a choppy or unstable stream, even on capable hardware.
Output settings: where smoothness is won or lost
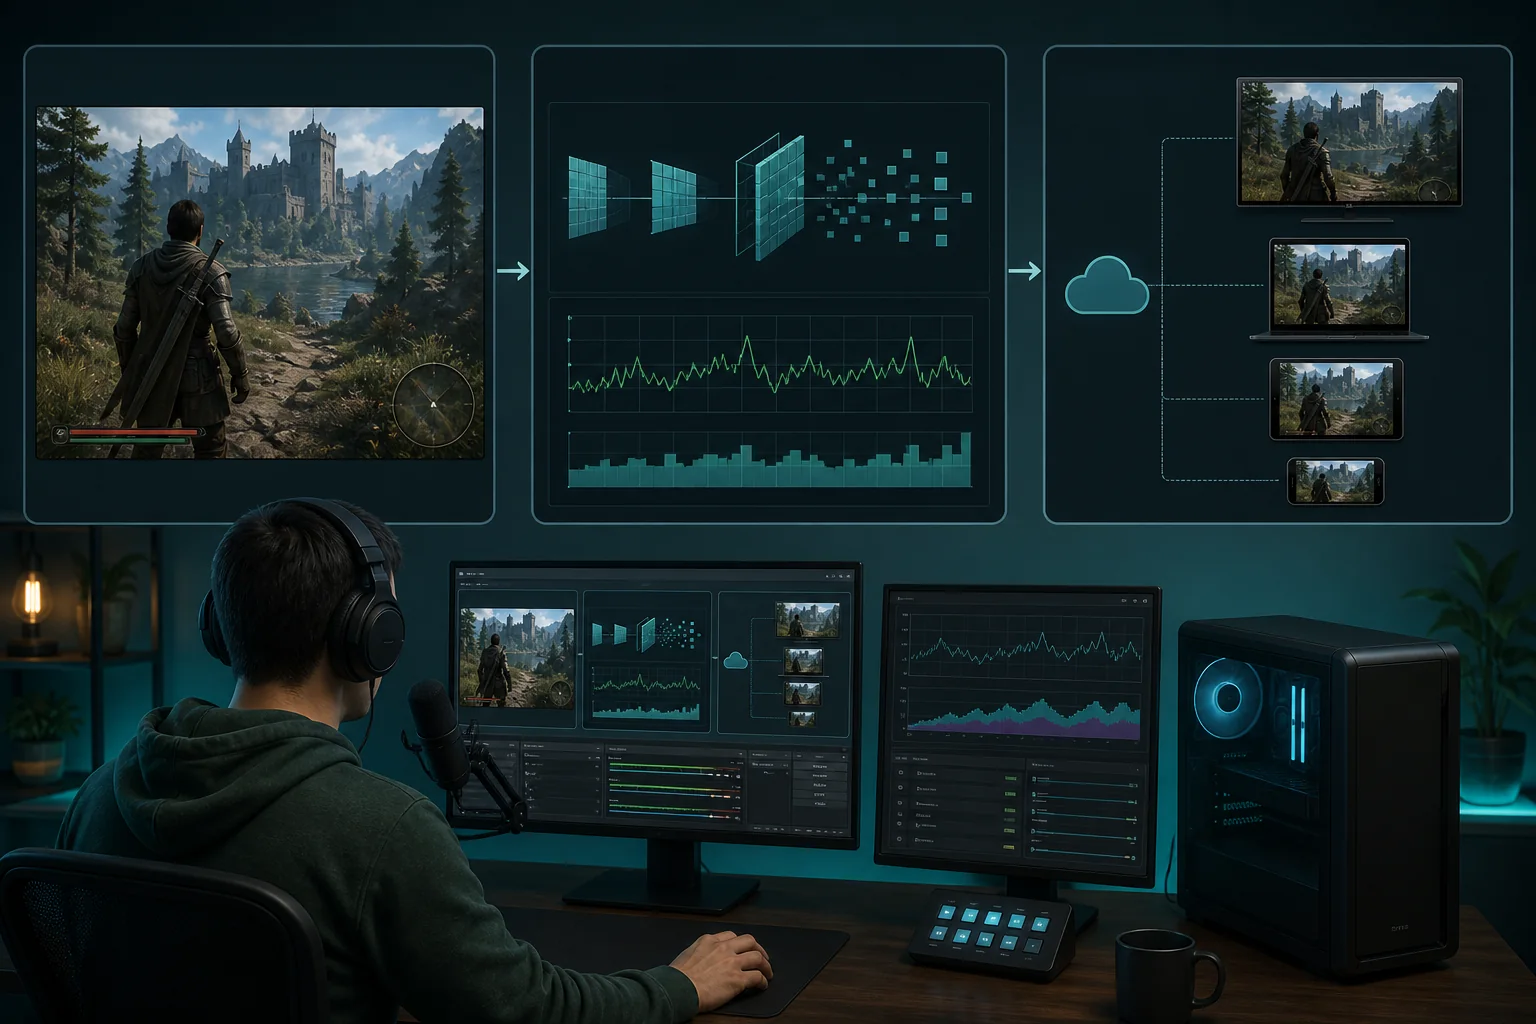
OBS’s Output settings, found under Settings then Output with Advanced mode enabled, control the encoder, bitrate, and quality parameters that most directly determine whether your stream looks smooth or exhibits visible compression artifacts and stuttering under load.
Switching Output mode from Simple to Advanced unlocks the specific controls covered throughout this guide, including keyframe interval, B-frames, and preset selection, none of which are accessible in Simple mode’s more limited interface.
Rate Control should be set to CBR (Constant Bitrate) for live streaming specifically, not VBR (Variable Bitrate), since most platforms including Twitch require a steady, predictable bitrate for their transcoding and quality-variant systems to function correctly.
The relationship between these output settings and your actual internet connection is direct: a bitrate set higher than your tested upload speed can sustain will produce dropped frames regardless of how well-tuned every other encoder setting is configured.
Resolution and downscale settings, covered later in this guide, interact with bitrate in a way that isn’t obvious to newer streamers; the same bitrate produces visibly different quality depending on whether it’s encoding 720p or 1080p source footage.
Working through Output settings methodically, one parameter at a time, rather than adjusting several settings simultaneously when troubleshooting, makes it far easier to identify which specific change actually resolved or caused a smoothness issue.
Bitrate by platform and resolution
Each major streaming platform sets its own bitrate ceiling, and exceeding it doesn’t improve quality, since the platform’s ingest servers cap or reject bitrate above their stated limit regardless of what OBS sends. Matching your setting to the platform’s actual limit avoids wasted upload bandwidth.
| Resolution / FPS | Recommended bitrate | Typical platform cap |
|---|---|---|
| 720p30 | 2,500-3,500 kbps | Twitch: 6,000 kbps (shared ceiling) |
| 720p60 | 3,500-4,500 kbps | Twitch: 6,000 kbps |
| 1080p30 | 4,500-6,000 kbps | Twitch: 6,000 kbps |
| 1080p60 | 6,000-8,000 kbps | Twitch: 6,000-8,000 kbps (partner-dependent) |
Twitch enforces a shared bitrate ceiling across resolutions rather than a separate cap per resolution tier, which is why 1080p60 and 720p30 share similar upper limits; the practical difference is how much of that bitrate budget gets spent on resolution versus frame rate.
Other platforms, including YouTube Live and Kick, currently allow higher ceilings than Twitch for 1080p60 content, which is worth checking directly on the platform’s current documentation before setting bitrate, since these limits do change over time as platforms update their infrastructure.
Keyframe interval explained
A keyframe (also called an I-frame) is a complete image frame that the encoder generates periodically, with all frames between keyframes storing only the changes since the last one, which is how video compression achieves its file size and bandwidth reduction.
Twitch requires keyframe interval set to exactly 2 seconds, not a recommendation but a functional requirement, since Twitch’s transcoding system uses this interval to generate the multiple quality variants (source, 720p, 480p, etc.) viewers select from in the player.
Setting keyframe interval to 0 in OBS tells the encoder to choose automatically, which on x264 typically defaults to a value that doesn’t match Twitch’s 2-second requirement, making manual entry of “2” the safer, explicit choice rather than relying on automatic selection.
A keyframe interval mismatch doesn’t always cause an obvious immediate failure; instead, it can manifest as viewers being unable to select lower-quality stream variants, or as playback issues specifically for viewers with slower connections who rely on transcoded lower-bitrate versions.
Setting keyframe interval too short (under 1 second) increases file size and bitrate demand for the same visual quality, since keyframes are larger than the interpolated frames between them, without providing meaningful benefit for standard live streaming use cases.
Confirm this setting under Output, Streaming tab, in Advanced mode; it’s a single numeric field labeled Keyframe Interval, and verifying it reads “2” before every stream, particularly after any OBS update, prevents this common and easily overlooked misconfiguration.
B-frames and encoder tuning
B-frames (bidirectional predicted frames) reference both preceding and following frames to achieve better compression efficiency than frames that only reference prior frames, generally improving quality per bitrate at the cost of additional encoding complexity and a small amount of latency.
For x264 encoding specifically, 2 B-frames is a reasonable default for live streaming, balancing the compression benefit against added encoding latency; going higher (3-4) squeezes out marginal additional efficiency but increases latency further, which matters for interactive or competitive content.
NVENC on modern NVIDIA GPUs handles B-frames differently through its own hardware pipeline, and recent driver versions generally set a reasonable default automatically; manual B-frame tuning matters more for x264 users who have direct access to this parameter in OBS’s encoder settings.
The x264 Tune parameter should be set to “zerolatency” for live streaming specifically, which disables certain encoder optimizations designed for offline video processing that would otherwise add unwanted delay between your gameplay and what viewers see.
Profile should typically be set to “high” for modern viewer hardware, which nearly universally supports it and provides better compression efficiency than the “main” or “baseline” profiles, which exist mainly for compatibility with older or more limited playback devices.
These parameters interact with each other, not just individually, meaning a change to B-frames can shift how much headroom you have for preset selection, covered next; testing changes one at a time and checking OBS’s Stats window after each adjustment avoids compounding confusion.
Choosing the right x264 preset for your CPU
The x264 preset controls how much CPU time the encoder spends compressing each frame in exchange for better quality at a given bitrate; slower presets (like “medium” or “slow”) produce better quality per bitrate but demand significantly more CPU resources than faster presets.
“Veryfast” is the commonly recommended starting preset for streamers also running a demanding game on the same PC, since it balances reasonable quality with a CPU load that leaves adequate headroom for the game itself to run smoothly without frame drops.
Moving to “faster” or “fast” trades some quality for meaningfully lower CPU usage, useful on older or more modest CPUs where “veryfast” still causes noticeable performance impact on the game being streamed, particularly at 1080p60 output.
Moving to “medium” or “slow” only makes sense with substantial CPU headroom, typically an 8+ core CPU where the game itself doesn’t fully utilize all available cores, or specifically for dual-PC setups where the streaming PC isn’t running the game simultaneously.
Test any preset change by watching your game’s own frame rate before and after the switch, not just OBS’s stats; a preset that looks fine in OBS’s own performance panel can still measurably reduce the actual game’s playable frame rate on single-PC setups.
Revisit preset choice after any CPU upgrade or when switching to a more demanding game, since a preset that worked comfortably for one title may cause frame drops in a more CPU-intensive game running alongside the same encoder settings.
CPU usage by x264 preset
CPU overhead from x264 encoding scales predictably by preset, though exact numbers vary by CPU model and core count. The figures below reflect approximate additional CPU load from encoding at 1080p60, layered on top of whatever the game itself is already using.
| x264 preset | Approx. added CPU load (1080p60) | Best for |
|---|---|---|
| Ultrafast | 8-12% | Very limited CPU headroom, quality secondary |
| Veryfast | 15-20% | Single-PC streaming, most common default |
| Faster | 20-28% | Mid-range CPU with some headroom to spare |
| Medium | 35-45% | High core-count CPU or dual-PC setups |
These figures are estimates based on typical modern multi-core CPUs and should be treated as a starting reference rather than an exact prediction for any specific processor; always confirm actual load using OBS’s own Stats window during a real test stream.
Our dedicated comparison of single PC vs dual PC streaming covers how removing this encoding load from your gaming PC entirely, by using a second machine for encoding, changes which preset becomes realistic to use.
NVENC vs x264 vs QuickSync
NVENC, NVIDIA’s dedicated hardware encoder built into recent GPU generations, handles encoding on separate silicon from the GPU’s rendering cores, meaning it has minimal impact on in-game frame rate compared to software-based x264 encoding running on the CPU.
Modern NVENC implementations (recent GPU generations) have closed much of the quality gap with x264 at equivalent bitrates, making NVENC the practical default choice for the large majority of single-PC streamers with an NVIDIA GPU, regardless of CPU core count.
x264 remains relevant primarily for streamers with substantial CPU headroom to spare, dual-PC setups where a dedicated encoding machine runs x264 at a slower, higher-quality preset, or GPUs where hardware encoding isn’t available or is notably weaker.
Intel QuickSync, built into many Intel CPUs with integrated graphics, offers a third hardware encoding option, generally positioned between x264’s software quality and NVENC’s efficiency, useful specifically for systems using an Intel CPU without a discrete NVIDIA GPU available for encoding.
AMD GPUs include their own hardware encoder (AMF), which has historically lagged behind NVENC in quality at equivalent bitrates on some generations, though this gap has also narrowed considerably on recent AMD GPU generations and driver updates.
Choosing between these options comes down to what hardware you already have rather than an abstract “best” choice; testing your specific GPU’s encoder against x264 at your target bitrate, using OBS’s Stats window to compare, gives a more reliable answer than generic recommendations.
Resolution and downscale filter settings
Streaming at your monitor’s native resolution isn’t required; downscaling from a higher capture resolution (1440p or 4K) to a lower output resolution (1080p or 720p) is common and often produces a cleaner image than capturing natively at the lower resolution.
OBS offers three downscale filter options: Bilinear (fastest, lowest quality), Bicubic (a reasonable middle ground), and Lanczos (highest quality, slightly more GPU-intensive); Lanczos is generally the better default choice on modern hardware where the GPU cost difference is negligible.
Set Base (Canvas) Resolution to match your actual capture source (your monitor’s native resolution) and Output (Scaled) Resolution to your streaming target (commonly 1920×1080), letting OBS’s downscale filter handle the conversion between the two automatically.
Downscaling from 1440p to 1080p output tends to produce a visibly sharper result than native 1080p capture at the same bitrate, since the extra source detail gives the downscale filter more information to work with when generating the final compressed frame.
Avoid upscaling (setting output resolution higher than your actual capture resolution), since this doesn’t add real detail and only increases file size and bitrate demand for an image that looks softer than genuine native-resolution footage at the same settings.
Test your chosen downscale filter using a static high-detail scene (text-heavy game UI, detailed textures) rather than fast action, since downscale filter differences are often more visible in fine static detail than in fast-moving gameplay footage.
Testing settings before going live
Run a private or unlisted test stream using your final settings combination, checking OBS’s Stats window throughout for dropped frames (both network and rendering), CPU usage percentage, and encoding lag, rather than assuming settings are correct from configuration alone.
Watch the stream back through Twitch’s actual player, not just OBS’s local preview, from a separate device on a different network connection if possible, since local preview doesn’t reflect the compression and transcoding your actual viewers will experience.
Stress-test settings during a genuinely demanding moment in your game, not just menu screens or idle gameplay, since encoding load and dropped frames are most likely to appear during visually complex, fast-moving scenes rather than static ones.
Document your working settings combination (bitrate, preset, resolution, keyframe interval) once confirmed stable, since OBS updates or Windows updates occasionally reset settings, and having a reference makes it faster to restore a known-good configuration.
Re-test after any hardware change, including a GPU driver update, since encoder behavior and default parameters occasionally shift with driver updates in ways that can affect a previously stable configuration without an obvious warning beforehand.
Elena Marchetti, Streaming & Creator Editor, verifies encoder settings like these using a dual-PC streaming rig with capture-card benchmarking and audio measurement tools, cross-checking CPU load and stream stability figures before recommending a specific preset or bitrate combination.
Related guides
- Streaming Bitrate And Resolution Explained
- How To Fix Dropped Frames While Streaming
- Encoder Settings Explained For Streamers
Frequently asked questions
What bitrate should I use for 1080p60 streaming on Twitch?
Twitch supports up to 6,000-8,000 kbps for 1080p60 on partner-tier accounts, though 6,000 kbps is a safer default that balances quality against upload bandwidth requirements. Non-partnered accounts and other platforms may cap lower, so check your specific platform’s current limit before setting this.
Should I use x264 or NVENC for encoding?
Use NVENC if you have an NVIDIA GPU from the last several generations, since it offloads encoding to dedicated hardware with minimal FPS impact on your game. Use x264 only if you lack hardware encoding or specifically need its slightly better quality-per-bitrate at slower presets with CPU headroom to spare.
What keyframe interval should I set in OBS?
Set keyframe interval to 2 seconds for Twitch and most major platforms; this is a hard requirement on Twitch specifically, not just a recommendation, since the platform’s transcoding system expects keyframes at this exact interval to generate quality variants correctly.
Why does my stream look worse than my recording at the same resolution?
Streaming bitrate is typically far lower than recording bitrate (6,000 kbps live versus 40,000+ kbps for local recording), since live bitrate is constrained by upload bandwidth and platform limits. This compression difference, not a settings error, is the most common reason for the quality gap.
How do I know if my CPU can handle a slower x264 preset?
Check OBS’s Stats window for rendering lag or high CPU percentage while streaming at your target preset. If CPU usage regularly exceeds 80-90% or rendering lag appears, drop to a faster preset (fewer quality gains per CPU cycle spent) or switch to hardware encoding instead.