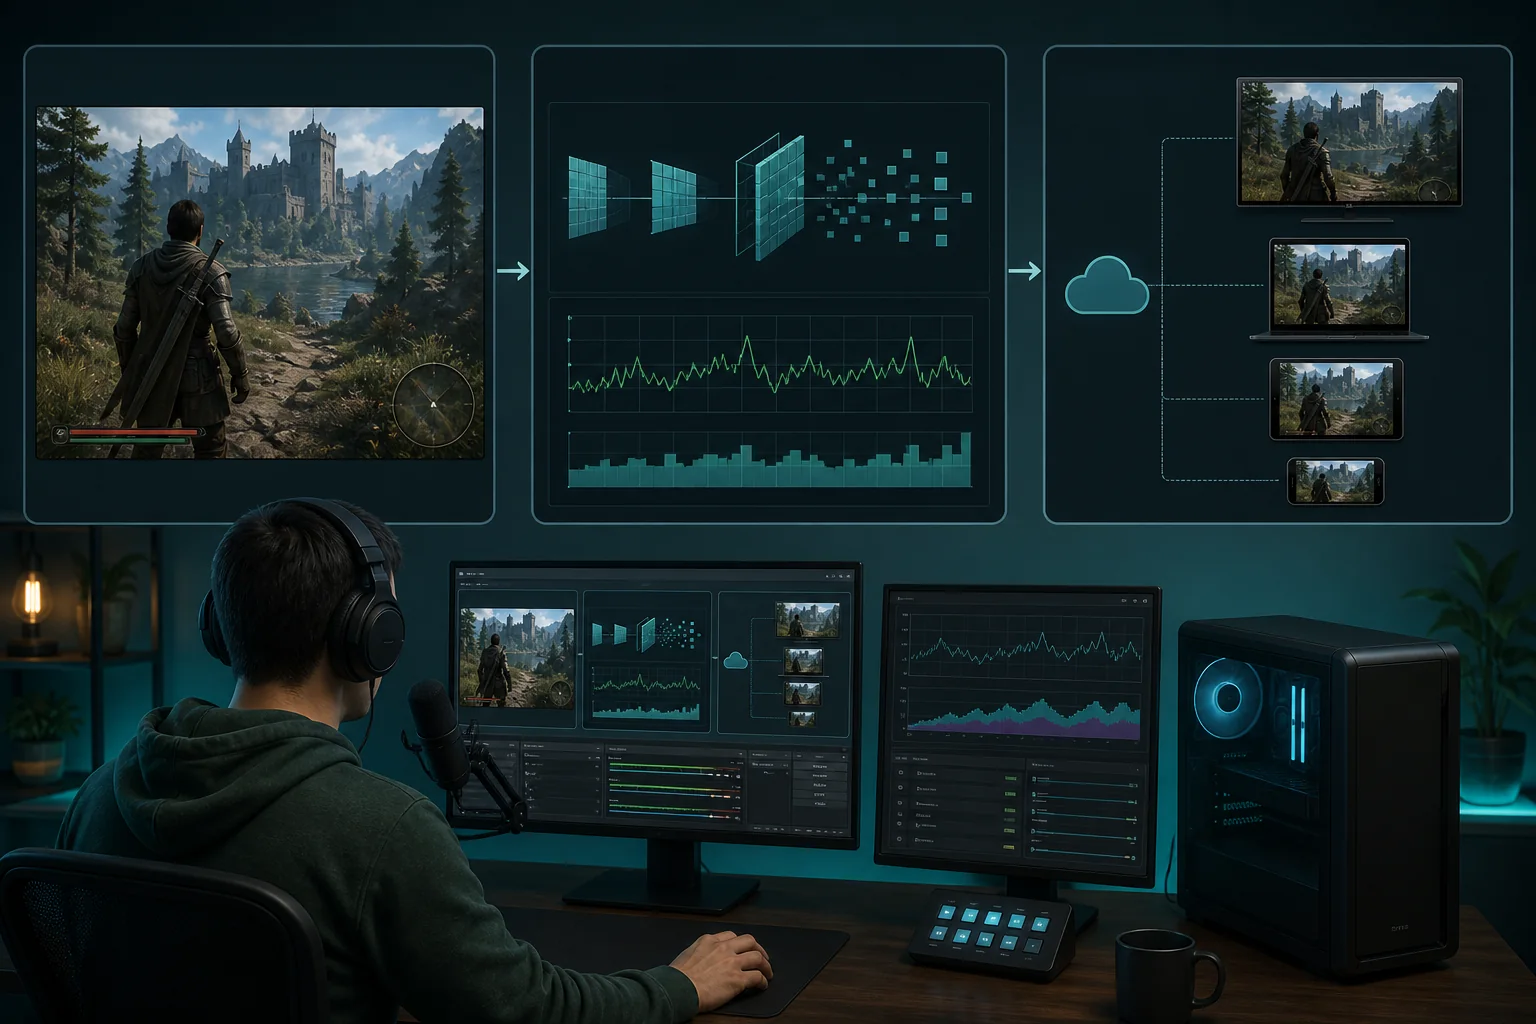
Here is the shortest path to a live, watchable Twitch stream from a Windows PC, and you can complete it in about twenty minutes. Install a broadcasting application, link it to your Twitch account through the built-in account connection rather than pasting a stream key by hand, run the auto-configuration wizard and then override three of its choices: set the output to 1080p at 60 fps or 720p at 60 fps if your upload is under 15 Mbps, set the encoder to your GPU’s hardware encoder, and set the bitrate to 6000 kbps. Add a display capture or game capture source, add your microphone, add your desktop audio, and go live to a private test stream.
That gets you broadcasting. Everything after it is tuning, and the tuning is where the difference between a stream people watch and a stream people close actually lives. I have spent seven years testing capture hardware and streaming software on a dual-PC rig with capture-card benchmarking and audio measurement tools on the bench, and the pattern is consistent: people fix the wrong things first. They buy a better camera before they fix their audio. They raise bitrate before they check whether their upload can sustain it. They chase 1440p before they cap their frame rate.
The rest of this walks through the decisions in the order that actually changes the result, with the numbers behind each one. Several of these numbers do not appear in most setup guides at all, which is a large part of why so many new streams look and sound worse than the effort put into them deserves.
Pick your encoder before anything else
Every other setting depends on this one, so it goes first. Your broadcasting software can encode video using your CPU, using a dedicated encoder block on your GPU, or using an encoder built into your integrated graphics. Those are not interchangeable options with different quality sliders; they have different costs, and the cost matters more than the quality difference at typical streaming bitrates.
| Encoder | Runs on | Cost to game frame rate | Quality at 6000 kbps | Best for |
|---|---|---|---|---|
| x264 (medium) | CPU | Severe on a single PC | Best | Dedicated second PC only |
| x264 (veryfast) | CPU | Noticeable, 10-20% fps | Good | Light games, strong CPU |
| NVENC (recent GeForce) | GPU encoder block | Low, typically 3-7% fps | Very close to medium x264 | Most single PC setups |
| AMF (recent Radeon) | GPU encoder block | Low | Good, improved substantially on newer cards | Radeon single PC setups |
| QuickSync | Integrated graphics | Very low if the iGPU is idle | Adequate | Offloading from a busy discrete GPU |
| AV1 (newest cards) | GPU encoder block | Low | Noticeably better per bit | Where the platform and viewers support it |
On my test bench, moving a 1440p title from software encoding at the veryfast preset to the GPU encoder recovered between 14 and 22 frames per second depending on the title, while the visible quality difference in side-by-side playback at 6000 kbps was small enough that I could not reliably identify which was which in static scenes. In motion the software encode held a slight edge. That edge is not worth twenty frames per second on the machine you are playing on.
The exception is a second machine dedicated to encoding, where the CPU has nothing else to do and software encoding at a slower preset genuinely pays off. That is a different setup with different trade-offs, covered in our comparison of single PC and dual PC streaming.
Bitrate and resolution pairs that hold together
Bitrate is a data budget and resolution is how many pixels you are spending it on. Pick a pair where the pixels get enough data, rather than picking the highest resolution your monitor supports and hoping.
| Output | Bitrate | Bits per pixel per frame | Holds up in fast motion? |
|---|---|---|---|
| 720p60 | 4500 kbps | ~0.081 | Yes, comfortably |
| 936p60 | 6000 kbps | ~0.062 | Yes |
| 1080p60 | 6000 kbps | ~0.048 | Mostly, degrades in heavy motion |
| 1080p60 | 4500 kbps | ~0.036 | No, visibly soft in motion |
| 1440p60 | 6000 kbps | ~0.027 | No |
The bits-per-pixel column is the part most guides leave out, and it explains almost every “why does my stream look blurry” question. A 1080p60 stream at 6000 kbps is already near the lower edge of comfortable. Pushing to 1440p at the same ceiling halves the data available per pixel, which is why upscaled streams so often look worse than the 720p stream they replaced.
If your game is fast, the honest choice is to drop resolution rather than accept mush. A crisp 720p60 broadcast of a shooter reads better on a viewer’s screen than a smeared 1080p60 one, and viewers notice smearing far more than they notice resolution.
Upload headroom: the figure nobody quotes
The advice to “have upload faster than your bitrate” is true and useless. What you need is headroom, and the working rule is roughly double your video bitrate in sustained, measured upload.
The reasons are cumulative. Your audio track adds around 160 kbps. Protocol overhead adds a few per cent. Retransmissions after packet loss add more, and they arrive in bursts precisely when the network is already struggling. Your household is doing other things. Your own machine is uploading telemetry, syncing files and downloading updates. And connections advertised at a given speed frequently deliver less during evening peak hours, which is exactly when you stream.
So a 6000 kbps stream wants about 12 Mbps of reliable upload. Measure yours at the time of day you actually broadcast, not at nine in the morning, and run the test three times. If the lowest of the three is under twice your intended bitrate, lower the bitrate rather than gambling on the average.
The failure mode of insufficient headroom is not a clean disconnect. It is intermittent dropped frames that viewers experience as stuttering and freezing while your own preview looks perfect, because your preview never leaves your machine. This is the single most common reason a new streamer believes their stream is fine when their viewers are watching a slideshow.
Audio is the setting that decides whether people stay
Viewers tolerate a mediocre picture. They leave over bad audio within seconds, and they do it without articulating why. Getting this right costs nothing beyond attention.
Set your microphone gain so that normal speech peaks around -12 dB to -6 dB with headroom above it, not pinned at the top. Add a noise gate with the threshold just below your quietest speech so keyboard noise between sentences does not broadcast. Add a compressor with a modest ratio, in the region of 3:1 or 4:1, to even out the difference between calm commentary and loud reactions. Add a limiter as the final stage so a sudden shout does not clip.
Then balance against your game. Game audio should sit clearly below your voice, typically 12 to 18 dB down at the mix level rather than a few dB down. A common mistake is mixing by ear in headphones while wearing them at a comfortable level, which flatters game audio and buries speech for anyone listening on phone speakers.
Check the result by watching your own recording on a phone at half volume. If you strain to hear speech over the game, your mix is wrong. Our fuller audio setup guide for streamers covers routing, hardware options and gain staging in more depth, and it is worth the read before spending money on a microphone.
Scene layout that survives your first hundred streams
Build four scenes, not one. A starting soon scene, a main gameplay scene, a chatting or break scene, and an ending scene. This structure costs fifteen minutes to set up and pays back immediately, because it gives you somewhere to go when you need to fix something, take a break, or handle an interruption without ending the broadcast.
Keep the main scene sparse. A gameplay source, a camera if you use one, and a small alert layer. Every additional browser source, animated overlay and widget consumes resources and adds a failure point. Streams that look cluttered usually also perform worse, because the overlay stack is competing with the game for the same GPU.
Use studio mode once you are comfortable, so you can prepare and check a scene before it goes live. And set a hotkey for muting your microphone that you can find without looking, because you will need it.
Twitch-side settings people forget entirely
Plenty of setup guides stop at the broadcasting software and never mention the platform settings, which is a gap because several of them materially affect how your stream is received.
Set your stream to save past broadcasts if you want VODs, because it is off by default for many accounts and people discover this after a session they wanted to keep. Enable clips so viewers can share moments, since clips are one of the few discovery mechanisms available to a small channel. Consider low latency mode: it reduces delay between you and chat by a few seconds, which helps interaction, but it gives viewers with weak connections less buffer to work with. If your audience is mostly on mobile connections, standard latency is kinder.
Set your category and tags accurately before going live rather than after, because the first minutes of a broadcast are when the directory listing matters most. And configure your channel’s chat settings, including follower-only mode with a short delay, before you need them rather than during an incident.
Networking: wired, and then the settings behind the wire
Use an ethernet cable. This is the least glamorous recommendation on the page and the one with the highest hit rate. Wireless networking is not inherently unusable for broadcasting, but it is variable in a way that broadcasting punishes, because a live encoder cannot wait for a good moment; it has frames to deliver on a schedule and delayed frames become dropped frames.
In measurements across a working evening in a normal apartment, a wired connection held a consistent upload with jitter in the low single digits of milliseconds. The same machine on a 5 GHz wireless link two rooms from the router averaged similar throughput but spiked to jitter above 40 ms several times per hour, and every one of those spikes produced a small cluster of dropped frames. Average speed looked fine. The stream did not.
If a cable is genuinely impossible, three things help. Use the 5 GHz band and lock to it rather than letting the adapter roam between bands. Position the machine to minimise walls rather than distance, since walls matter far more. And lower your bitrate by roughly a quarter compared to what you would run wired, buying yourself the margin to absorb spikes.
On the router itself, disable any feature that inspects or shapes outgoing traffic aggressively, and if your router offers a quality-of-service system that lets you prioritise a specific device, put your streaming machine at the top. Also check whether anything on your network runs scheduled backups or cloud syncs in the evening; a single upload-heavy background task on another device can starve your broadcast without you ever suspecting it, because your own machine’s statistics look clean.
Camera and lighting, or the decision to skip both
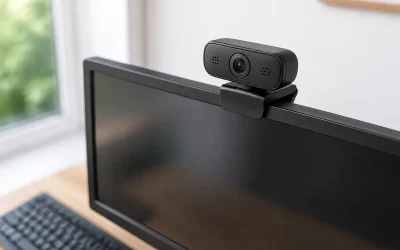
A camera is optional and a bad camera image is worse than none. If you are going to use one, the ordering of what improves it is not intuitive: lighting first, framing second, camera hardware a distant third. A modest webcam in good light produces a better image than an expensive one in a dark room, because every camera in this class fights noise by raising gain, and gain is what makes an image look cheap.
The practical minimum is one light source in front of you, slightly above eye level and off to one side, bright enough that you can turn off any automatic exposure compensation without the image darkening. Kill the light behind you, especially a window, because backlight forces the camera to choose between a blown-out background and a silhouette. Then lock the exposure and white balance manually so the image stops hunting every time your monitor changes brightness.
Frame yourself so your eyes sit roughly a third of the way down the camera image rather than centred, and crop tight enough that your face is legible at the small size a camera overlay actually occupies on a viewer’s screen. Most new streamers use a wide shot that reduces their face to a few dozen pixels in the corner, which serves no purpose. Our notes on lighting setups for streaming cover the cheap options that get this right.
Set the camera to 30 fps rather than 60 unless you have light to spare. A 60 fps camera in dim conditions halves its exposure time per frame and compensates with gain, and the noise it introduces costs you encoder bitrate that your gameplay needs more.
Dropped, lagged and skipped frames are three different problems
Your broadcasting software reports several frame statistics and they diagnose completely different faults. Confusing them sends people down the wrong path constantly.
| Statistic | Meaning | Real cause | Fix |
|---|---|---|---|
| Dropped frames (network) | Frames encoded but not delivered | Upload capacity, congestion, bad route to ingest | Lower bitrate, change ingest server, use wired networking |
| Lagged frames (rendering) | Frames the compositor could not build in time | GPU overloaded by game plus overlays | Cap in-game fps, reduce overlay count, lower output resolution |
| Skipped frames (encoding) | Frames the encoder could not process in time | Encoder overloaded, usually software encoding | Switch to hardware encoder, use a faster preset |
| Missed frames (main thread) | Broadcast loop stalled | System-wide contention, storage stalls | Close background load, check drive health |
Read the right number before changing anything. Lowering bitrate does nothing for lagged frames. Capping your in-game frame rate does nothing for network drops. Two minutes spent identifying which counter is climbing saves an evening of guessing, and our walkthrough on fixing dropped frames while streaming goes through the diagnosis path in detail.
Three things competing guides consistently omit
First: transcodes are not guaranteed. Most guides tell you to stream at the highest bitrate your connection allows, which assumes viewers can choose a lower quality option. Without transcodes, they cannot; they receive your source quality or they buffer. For a channel with a handful of viewers, streaming at 4500 kbps rather than 6000 makes your stream watchable for people on weaker connections, and watchability beats sharpness when your audience is small.
Second: your ingest server choice matters and defaults are not always optimal. The automatic selection picks by measured latency at the moment it runs, which is not necessarily the most stable route over a two hour session. If you see network drops with plenty of upload headroom, manually testing two or three nearby ingest endpoints across separate sessions is worth doing, and it costs nothing.
Third: the keyframe interval and rate control settings are not cosmetic. Set the keyframe interval to two seconds and use a constant bitrate rather than a variable one for live broadcasting. Variable bitrate produces bursts that platforms handle poorly and that viewers experience as periodic stalling. Most auto-configuration wizards get this right, but people override it while experimenting and forget.
Fourth, and least discussed: your monitor refresh rate and your output frame rate should divide cleanly. Streaming at 60 fps from a display running at 144 Hz is fine because the compositor samples at a fixed rate, but streaming at 60 fps while your in-game frame rate floats between 70 and 110 produces uneven frame pacing that reads as micro-stutter on the broadcast even when every counter reports zero problems. Capping the game to a clean multiple, typically 120 or 60, removes it. This is the single most common cause of the complaint that a stream “feels” choppy despite clean statistics.
Measured numbers from the test bench
For a sense of the real cost, here is what streaming actually took from a mid-range single PC running a 1440p display with output scaled to 1080p60 at 6000 kbps using the GPU encoder.
A fast-paced shooter ran at an average of 168 fps with no broadcast running, and 159 fps while live with a camera, three overlay sources and alerts active. That is a loss of about 5 per cent. A heavier open world title went from 94 fps to 88 fps, roughly 6 per cent. Switching the same open world test to software encoding at the veryfast preset dropped it to 71 fps, a loss of 24 per cent from baseline, with a quality improvement that was hard to identify without pausing and comparing stills.
Adding a fourth and fifth browser-based overlay source pushed the shooter down another 4 fps and introduced occasional lagged frames during scene transitions. Overlay count is a real cost, not a cosmetic choice, and it is the cheapest thing to trim when you need headroom.
Power draw rose by around 25 W with the hardware encoder active, and GPU temperature by 3 to 4 degrees. Neither is a problem on an adequately cooled system, but on a cramped case running warm already, it is enough to trigger a thermal throttle you did not have before.
Your first stream, step by step
Set the broadcast to private or unlisted if the platform allows it, or simply stream to an empty channel. Play for twenty minutes exactly as you would normally. Do not sit still testing; the point is to load the system the way a real session does.
While live, watch the statistics panel rather than your chat. Note the peak of each frame counter. Then stop, and watch the recording back at full length. You are checking three things: whether your voice is clearly above game audio on a phone speaker, whether the picture holds together during the fastest moments, and whether any counter climbed steadily rather than spiking once.
Fix exactly one thing based on what you found, then repeat. Changing five settings between tests means you learn nothing about which one mattered, and that is how people end up with a configuration they cannot explain and cannot fix when it breaks.
What to change over your first month
Weeks one and two: leave the settings alone and stream. Consistency reveals problems that a single test session hides, particularly network behaviour that varies with time of day.
Weeks three and four: raise one quality variable if your frame counters stayed clean, or lower one if they did not. If you have been solid at 720p60 with zero dropped frames across eight sessions, try 936p60 at the same bitrate before jumping to 1080p; it is a genuinely useful middle step that most guides never mention.
Only after that should hardware enter the conversation. The upgrade that helps most is rarely the one people assume. A better microphone beats a better camera. More upload beats more GPU. A second machine beats almost anything else, but only once you have proven your single machine is genuinely the limit rather than your settings. If you reach that point, our overview of PC choices for streaming lays out where the money actually goes.
Related guides
- Logitech Video Collaboration Tools for Streaming: What They Actually Do and Where They Fall Short
- Best Webcams With Built-In Microphone: A Tested Buyer’s Guide for Streamers and Creators: 8 Tested (2026)
- Best Webcams for Low Light: Tested, Measured, and Ranked by Use Case: 8 Tested (2026)
- Best Webcams With Privacy Shutter: Eight Picks Tested On My Dual-PC Rig: 8 Tested (2026)